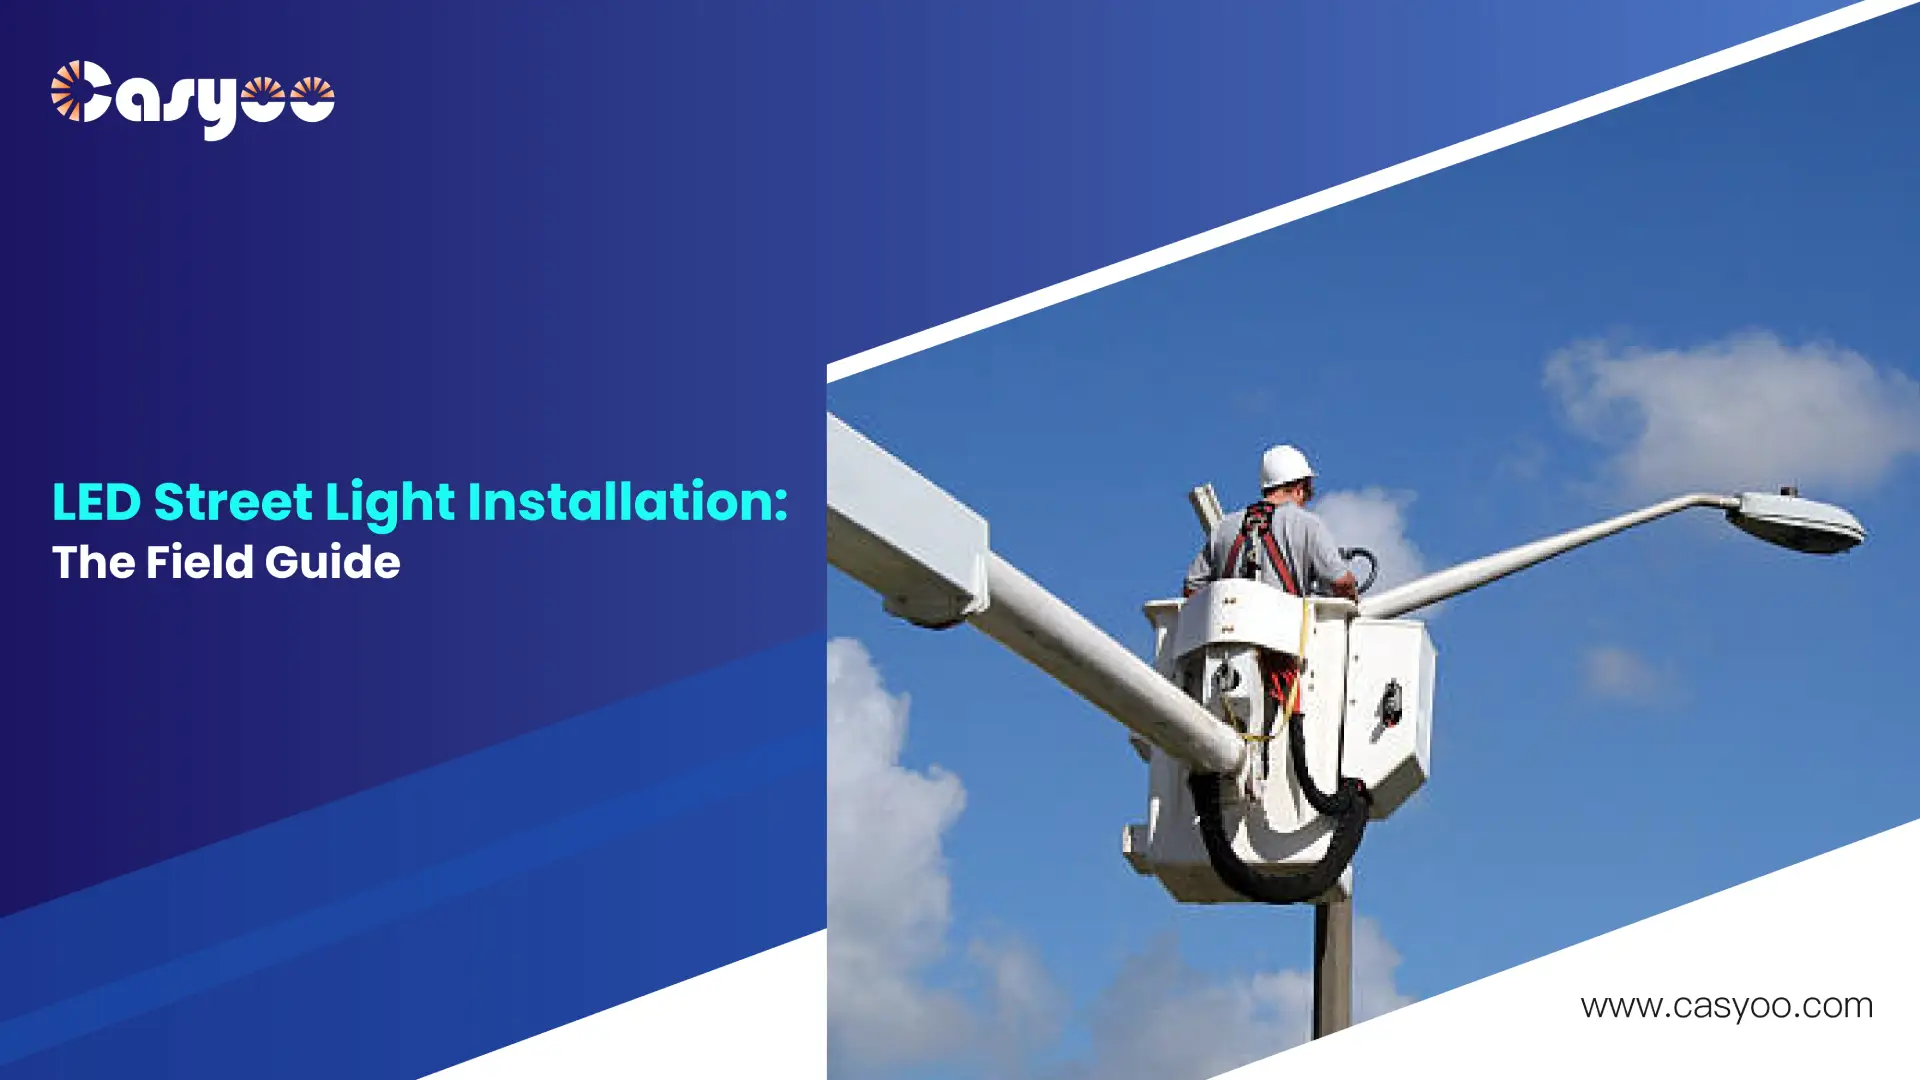
Have you ever wondered why some LED street lights fail in months while others last for years? After 7 years of implementing LED street lighting systems in a variety of metropolitan sites, I’ve discovered that the difference is often in the installation procedure rather than the product quality. Correct mounting, suitable protection, and regular maintenance can dramatically increase the lifespan of a light.
In this detailed guide, I’ll reveal important information on LED street light installation that every city planner, contractor, and property management should know. Whether you’re planning a city-wide renovation or a local neighborhood installation, these professional standards can help you make your lighting project a success.
Why Proper LED Installation Matters
Picture this: A apparently simple installation error, such as faulty wire protection, might result in water seepage and system failure. As an LED street lighting engineer, I’ve found that installation issues, rather than product defects, account for a major portion of premature LED street light failures. Proper installation practices can help to prevent many frequent failure types.
What is the good news? Careful planning and execution can help you avoid the majority of installation problems. Let’s go over what you need to know before beginning your LED street light installation job.
Pre-Installation Planning: Getting It Right from the Start
Before you pick up any tools, careful planning is the difference between a lighting system that lasts for decades and one that requires periodic repairs. Consider it like building a house: the foundation work may not be evident in the end, but it dictates all that follows.
Understanding Your Lighting Needs
The majority of lighting projects fail during the design phase rather than the installation stage. The first step should be a thorough assessment of your lighting needs. This includes researching traffic patterns, reviewing crime statistics, and understanding local lighting regulations. Optimizing pole spacing based on local lighting requirements and regulations significantly enhanced visibility at crosswalks – a modest improvement that had a tremendous impact on pedestrian safety.
- Traffic Patterns: Analyze vehicular and pedestrian traffic flows at various times of the day. Pay close attention to peak hours, intersection dynamics, and seasonal changes in traffic volume. For example, locations near schools may require additional lighting during the early morning and afternoon commute hours.
- Crime Statistics: Collaborate with local law enforcement to identify high-risk places and crucial timeframes where better lighting could benefit public safety. Understanding these patterns helps to optimize light placement and illumination levels for crime prevention.
- Local Lighting Standards: Check your municipality’s lighting ordinances for precise requirements including illumination levels, pole heights, and light pollution limits. These restrictions ensure that your installation meets local safety standards while having a minimal impact on the neighboring environment.
Regulatory Compliance and Permits
Here’s an important step that many people overlook: obtain legal licenses and understand local restrictions. Every jurisdiction has unique standards for light pollution, fixture height, and energy efficiency. Electrical work requires permits, as do road closures during installation.
Contact your local authorities early in the planning process. By doing this, you can steer clear of later, expensive changes. Trust me: I’ve seen projects delayed for months due to neglected permission requirements.
Technical Installation: The Core Process
Site Preparation: Your Foundation for Success
The ground beneath your feet predicts how your lights will operate in years to come. Before starting any installation, a comprehensive site inspection is necessary. This includes:
Ground stability testing is vital. Coastal areas can bring distinct foundation issues due to soil conditions. In many seaside facilities, engineers discovered that typical foundation depths must be altered to account for sandy or saline soils. For example, a coastal city project’s foundation needed to be modified after soil research revealed that typical criteria would not offer appropriate long-term stability. Early soil assessment and foundation changes helped to avoid potential structural concerns that usually appear years later in marine situations.

Foundation and Pole Installation
A specific sequence must be followed for successful LED street light installation. Begin by defining the right foundation depth and diameter based on your pole specs. A typical installation begins with excavation, followed by the placement of anchor bolts in a precise pattern using a template. The concrete must be allowed to cure completely; rushing this phase typically results in future stability difficulties.
Mounting the pole necessitates precise vertical alignment. Even a minor tilt at the base results in a substantial divergence at the fixture height. Use a digital level on at least two sides of the pole while installing. The pole’s orientation should take into account the eventual position of the light fixtures and any linked equipment, such as solar panels or smart controllers.
Wiring and Connections: The Critical Link
Underground Conduit System
Proper wiring starts at the foundation. To avoid water ingress, install a conduit system that is at least 6 inches above the base. All subterranean conduits should have a small gradient so that any water can drain away from electrical connections.
Connection Points and Weatherproofing
Connection points demand special attention because they are common failure points. Use moisture-resistant wire nuts and weatherproof connections designed for outdoor use. Make a drip loop in the wiring before it enters any enclosure; this simple solution keeps water from following the line into electrical connections.
Grounding and Safety
For safety and lightning protection, the ground connection is essential. The grounding wire should be continuous from the fixture to the pole to the ground rod. Avoid splicing this link whenever possible.
Internal Wire Management
Inside the pole, use adequate support grips to secure all wire. Loose wires can scrape against the internal pole wall, resulting in insulation breakdown. The wiring should have enough slack to for future maintenance, but not too much, as this could cause tangling.
Solar System Installation: Special Considerations
Solar Panel Orientation and Mounting
Solar LED setups necessitate further planning for optimal panel location. Depending on where you live, the installation bracket needs to be positioned to get the most sunlight. For best year-round performance in the Northern Hemisphere, panels should face true south (not magnetic south) and have an inclination angle that corresponds to their latitude.
Battery and Controller Installation
Battery and controller location requires significant thought. Mount these components high enough to limit water exposure while remaining accessible for maintenance. To avoid overheating, ensure that the battery compartment is well ventilated. The controller should be positioned between the solar panel and the battery, away from direct sunlight and weather exposure.
Weather Protection and Wiring
All solar electrical connections require additional protection from UV rays and weather conditions. To protect exposed wire, use UV-resistant cable ties and conduit. Install lightning arrestors on the solar panel circuit to safeguard sensitive electrical components.
System Testing and Performance Verification
The battery compartment requires sufficient drainage holes to prevent water gathering. When attaching batteries, make sure they’re secure enough to prevent vibration but not so tight that they inhibit normal expansion during charging cycles. A well constructed solar system should provide consistent electricity throughout the night, with adequate reserve capacity for cloudy days.
Safety and Quality Control: Non-Negotiable Priorities
Safety is more than just obeying guidelines; it is about developing a systematic method to protect both installers and end users of the lighting systems. Each installation day begins with a safety briefing and an equipment check.
Essential Safety Measures
Timing your work is an important part of safety that sometimes goes unnoticed. Working during low-traffic nights may appear to be more efficient, but lower visibility might raise dangers. We found that deployments in the early morning frequently offer the best possible combination between efficiency and safety.
All electrical connections should be considered live until proven otherwise. Double-check your lockout/tagout protocols, and always utilize correctly rated safety gear. This isn’t just about complying; it’s about getting home safely at the end of the day.
Smart Technology Integration: Future-Proofing Your Installation
Smart lighting is no longer a trend; it is becoming an absolute necessity in current metropolitan contexts. When installing LED street lights now, consider how they may interact with smart systems in the future.
Control Systems and Connectivity
LED streetlights nowadays are capable of much more than just turning on and off. Depending on the time of day, traffic patterns, and weather, smart controllers can change the brightness. During installation, make sure your wiring can handle potential future improvements.
The trick is to leave access points for future sensor installation and ensure that your power supply can support further smart features. A little planning during installation can result in significant savings on refit expenditures afterward.
Environmental Impact and Light Distribution
Proper light distribution is more than simply brightness; it is about directing light where it is required while reducing waste and environmental effect. Understanding fixture location and angle adjustment is essential for obtaining optimal lighting effectiveness.
Optimizing Light Direction
The mounting angle of LED street lights has a considerable impact on both their performance and the environment. According to industry standards, fixtures should be installed at a 0-15 degree tilt from horizontal, depending on road width and mounting height. For example, bigger roads often necessitate slightly higher tilt angles to achieve sufficient coverage of the entire roadway surface.
Streetlights should be positioned to direct light downward and slightly ahead. This arrangement helps achieve several essential goals:
- Maximizes illumination of the target area
- Reduces glare for drivers and pedestrians
- Minimizes light trespass into residential windows
- Decreases sky glow that can affect wildlife and astronomical observations
Preventing Light Pollution
Light pollution has become an increasing issue in urban areas. Proper installation can significantly lessen the environmental impact. When installing light poles, ensure that their height and spacing match the fixture’s light distribution pattern. Installation professionals often strive for a mounting height that allows for overlap between nearby lights while avoiding dark areas or excessive brightness.
When properly fitted, full cut-off fixtures divert light less than 90 degrees from the vertical. This prevents light from escaping upward while yet providing adequate ground-level illumination. Many communities now demand these installations as part of their dark sky programs.
Adapting to Local Conditions
Light dispersion approaches varies depending on the surroundings. Consider the following scenarios:
- Residential Areas: Install fixtures at lower mounting heights with smaller tilt angles. This lowers light penetration into dwellings while yet providing appropriate street illumination.
- Commercial Districts: Higher mounting points with precise spacing can offer even illumination for both pedestrian and vehicular activity.
- Intersections: Special attention to fixture positioning ensures that crossing points are properly illuminated without causing distracting shadows or glare.
From Failure to Success: Making Your Installation Count
Remember the LED street light that died after only a few months? The differences between failure and a decade of dependable service come down to the details we’ve discussed. With adequate foundation testing, weather-proof wiring, and accurate light adjustment, that fixture may still be illuminating streets today.
We at Casyoo are here to help you get these details perfect. Contact our technical team immediately for a free consultation or a complete LED street lighting system.


